Subtitles are nothing but the sentences that are being spoken in the video appearing on the screen. It comes in handy when you are watching content that uses a language you are not familiar with. Some videos come with subtitles, or you download them from the internet and add them while playing a video on the VLC Media Player. So, not having the subtitles appearing on the screen, makes it difficult to understand the content.
Reasons Why VLC Media Player Subtitles Are Not Showing?
The corresponding video you are playing on VLC doesn’t have a subtitle file integrated into it.You have not enabled subtitles on the VLC Media payer. Hence, it’s not showing.The VLC media player may have some bugs. That’s why the subtitles are not showing up even if you would add them.The subtitle file, usually with an SRT filename extension, does not correspond to the video you are playing on VLC.
1. Enable Subtitles on VLC Media Player
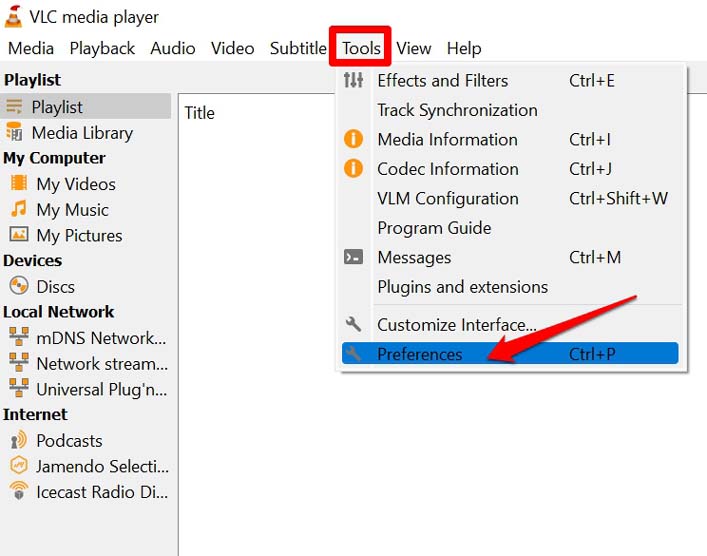
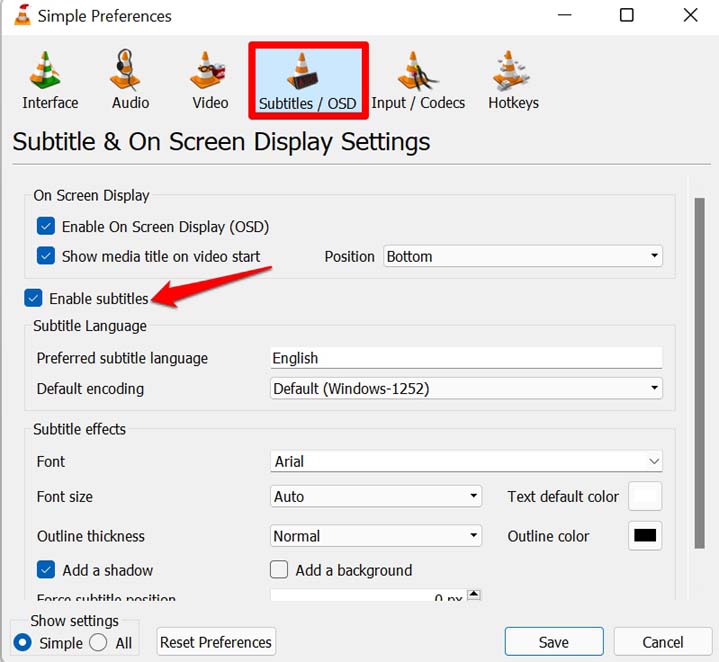
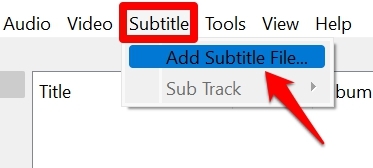
You need to enable the subtitles on the VLC Media player to get the subtitles to display while playing a video. Most people miss out on this and try all other fixes and still do not get any result. Now, you should be able to see the subtitles when you play a video on the VLC Media Player.
2. Update the VLC Media Player
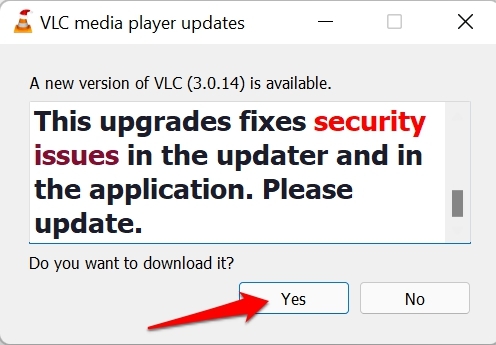
VLC Media Player keeps updating regularly to fix bugs. Sometimes, it may be some random bug causing the problem with the subtitles. Even the developers of VLC release version updates of the application to manage security issues. You don’t have to do anything to update the VLC. When an update is available, and your computer is connected to the internet, as you open VLC, a prompt will pop up asking you to download the new update. When the VLC Media Player updates prompt shows up and asks Do You Want To Download it, click on Yes.
3. Rename the Subtitle File Name
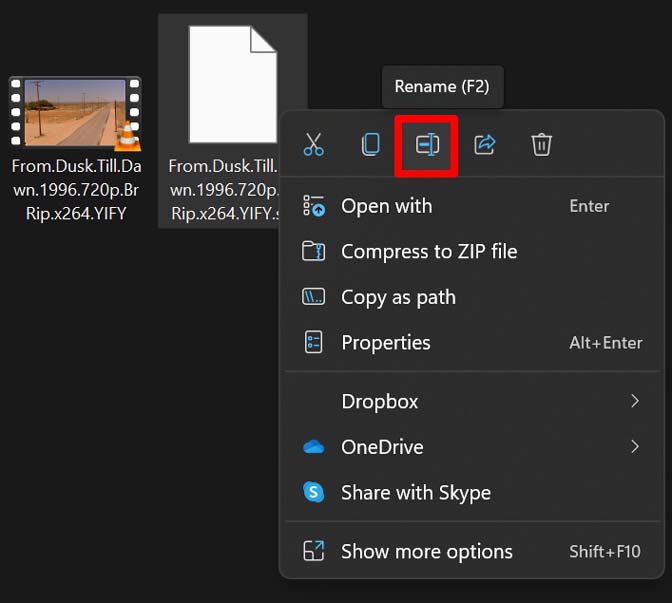
Often you may have downloaded subtitle files separately from the internet for any particular video content. The subtitle is wrongly named, which may cause trouble syncing with the video being played on the VLC. So, rename the SRT file with the video file’s name for which it is meant to sync. This fix works for a lot of folks. For instance, if the video file goes by the name abcxyz.mp4 then rename the subtitle file to abcxyz.srt. Take a look at the screenshot below to understand this.
Renaming the SRT file is simple. Right-click on the subtitle file and click on the Rename icon. Type in the correct name as shown in the screenshot above, and that should fix the snag.
4. Download The Appropriate Subtitle for the Video
As I mentioned previously, you need to ensure that you have downloaded the correct subtitle file for the video that you are trying to play on the VLC Media player. I prefer to use YIFY to get all the subtitles for the video content that I watch. It is free and quite secure. Make sure the website that you prefer to get your subtitles is secure and doesn’t ask for any personal details or signing up. In case, you do not know how to set subtitles on the VLC for a video, I will explain it to you as well.
5. Reset the VLC Media Player
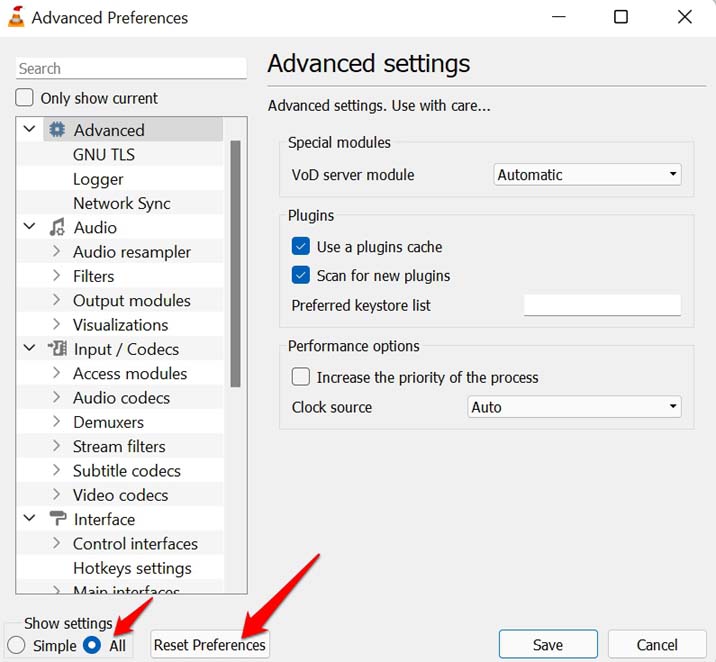
You can also try to reset the VLC Media Player if other troubleshooting methods mentioned in this guide are not working. So, these are the various troubleshooting methods that you should use to fix the issue of VLC Media Player subtitles not working. If you’ve any thoughts on VLC Media Player Subtitles Not Showing for PC: How to Fix?, then feel free to drop in below comment box. Also, please subscribe to our DigitBin YouTube channel for videos tutorials. Cheers!