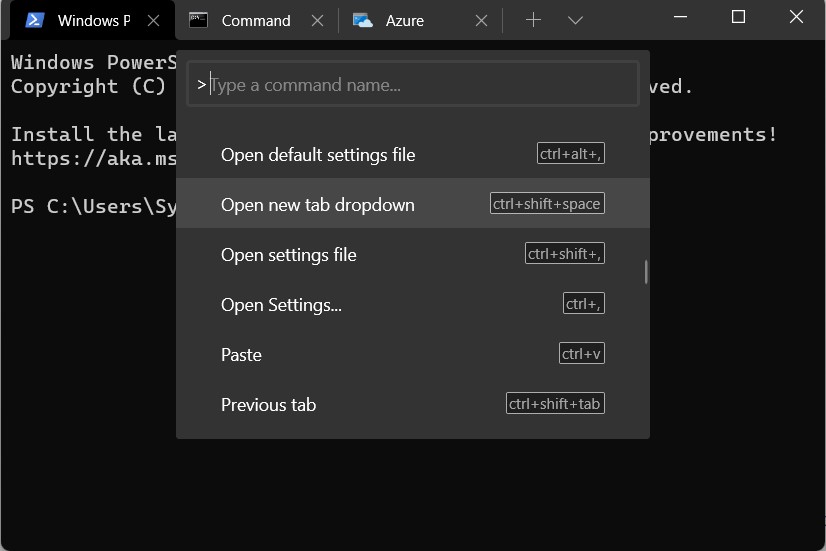
These include the likes of new Taskbar design, a major overhaul to the Start Menu and Settings page, new icon and font styles, and UI changes to various Microsoft Apps such as Photos and Store, just to name a few. However, it’s the Terminal app that comes out to be an underrated player. For the unaware, Windows Terminal is a multi-tabbed command-line tool that offers the likes Windows PowerShell, Command Prompt, and Azure CloudShell, all under one roof. Along the same lines, it beholds a plethora of nifty keyboard shortcuts as well. From the likes of changing the font size to resizing the windowpane or even creating a new profile index, all this could easily be carried out within seconds using their associated keyboard shortcuts.
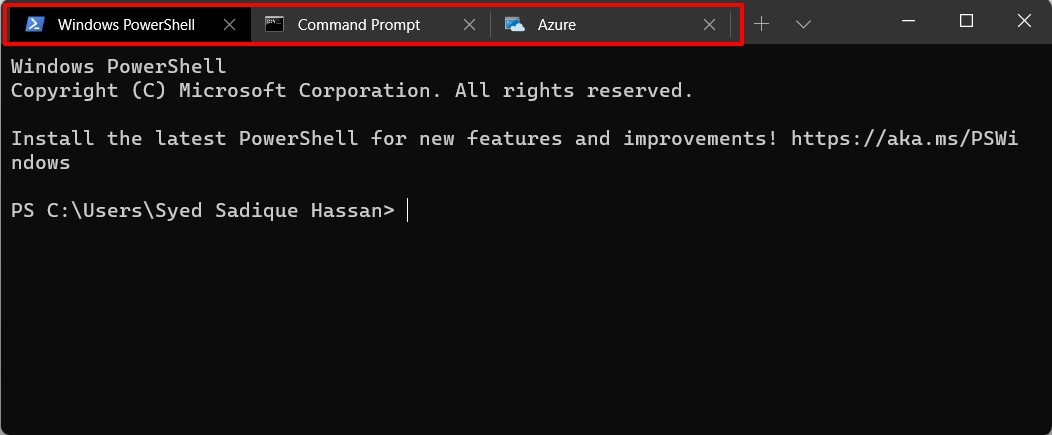
Then the fact that it provides the option to work in multiple tabs translates to your ability to simultaneously use CMD in one tab, PowerShell in another, and the Azure CloudShell in the third one!
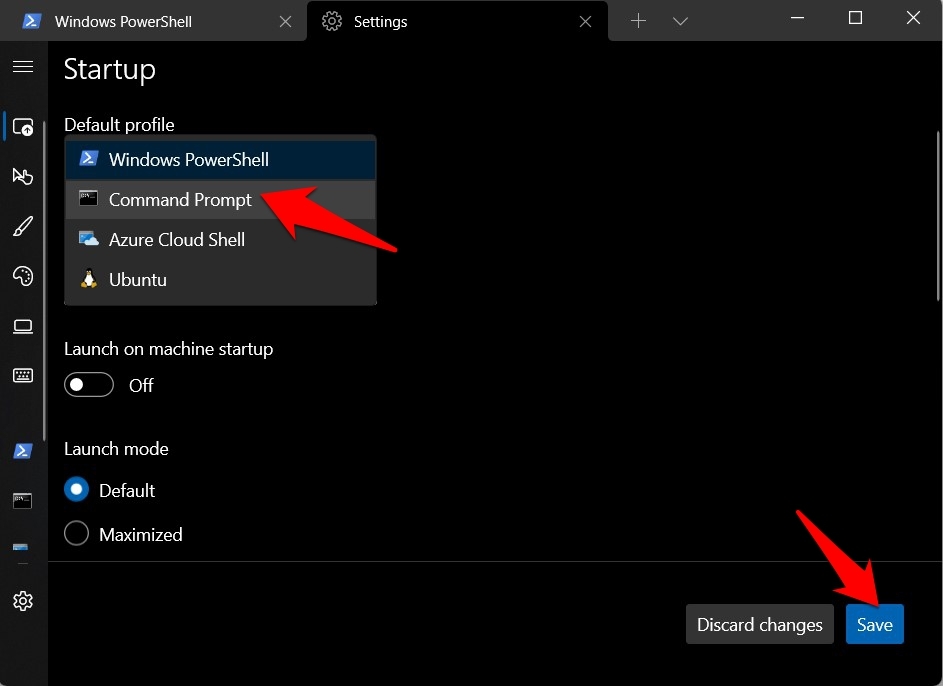
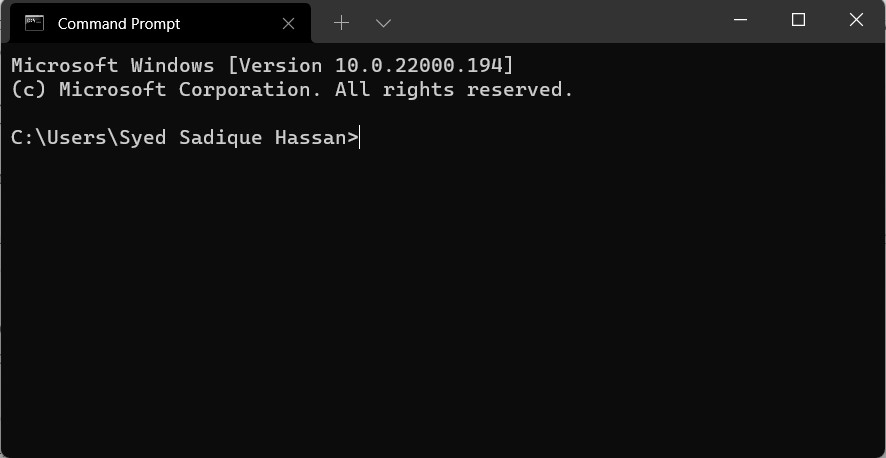
With that said, by default, the Terminal will always open the PowerShell window, and you could then manually switch over to a new Command Prompt window. However, if you usually prefer to work in CMD itself, then there’s not much point in manually making a switch every time on opening the Terminal. Therefore, a much better approach will be to set Command Prompt as default in Windows 11 Terminal. And in this guide, we will show you how to do just that. So without further ado, let’s get started.
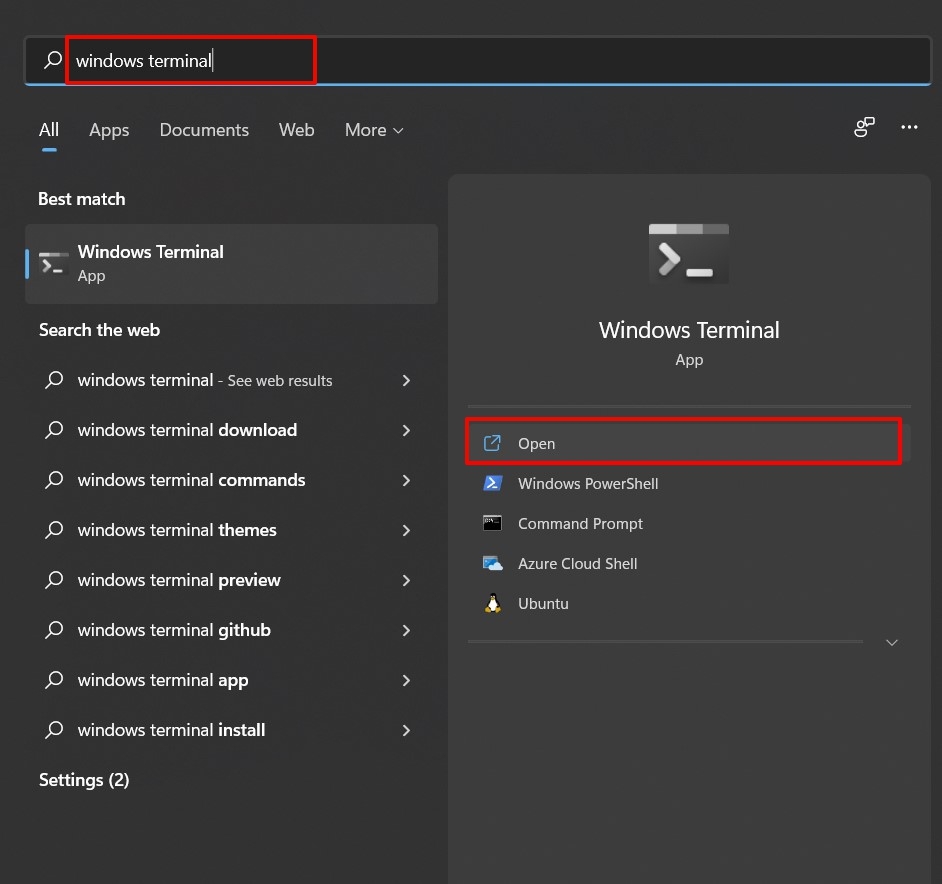
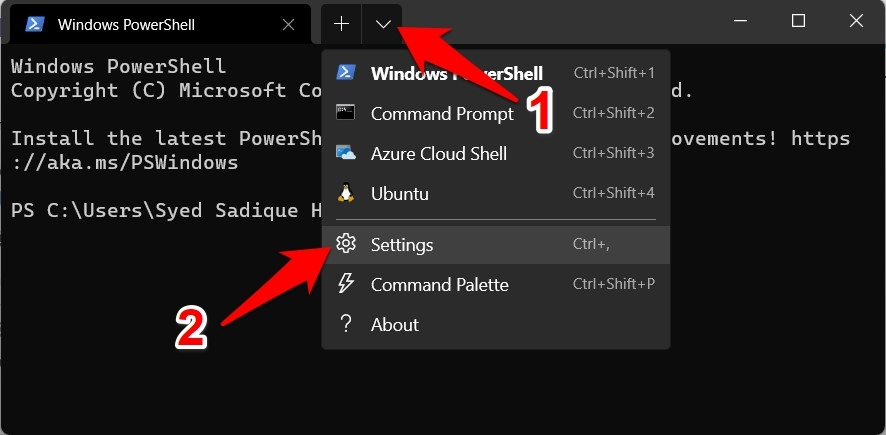
Steps to Set Command Prompt as Default in Windows 11 Terminal
That’s it. These were the steps to set Command Prompt as default in Windows 11 Terminal. If you have any queries concerning the aforementioned instructions, do let us know in the comments section below. If you’ve any thoughts on How to Set Command Prompt as Default in Windows 11 Terminal?, then feel free to drop in below comment box. Also, please subscribe to our DigitBin YouTube channel for videos tutorials. Cheers!
